Reviews
Funtek Raid Adventure : A low-cost, Land Rover style RC car
Remote controller, transmitter, radio controller, whatever you call them they are core to the enjoyment of any model. In this article we take a look at the variations out there, how they work and how they can be adjusted to get the most from your car.
When it comes to remotely controlling your RC car there several options available, but by far the two most popular ones are:
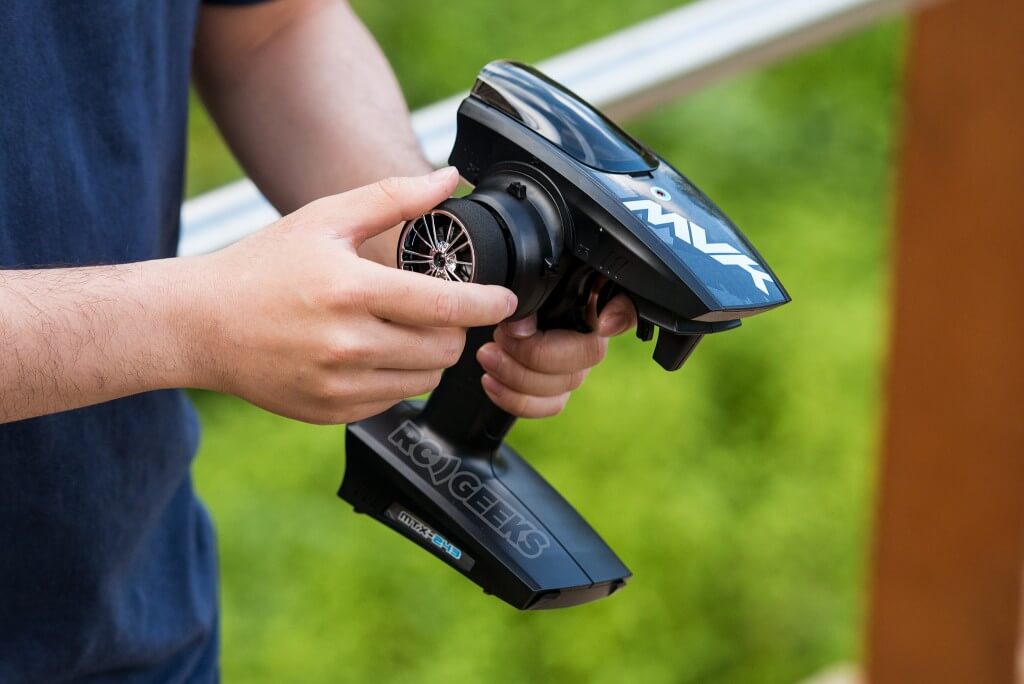
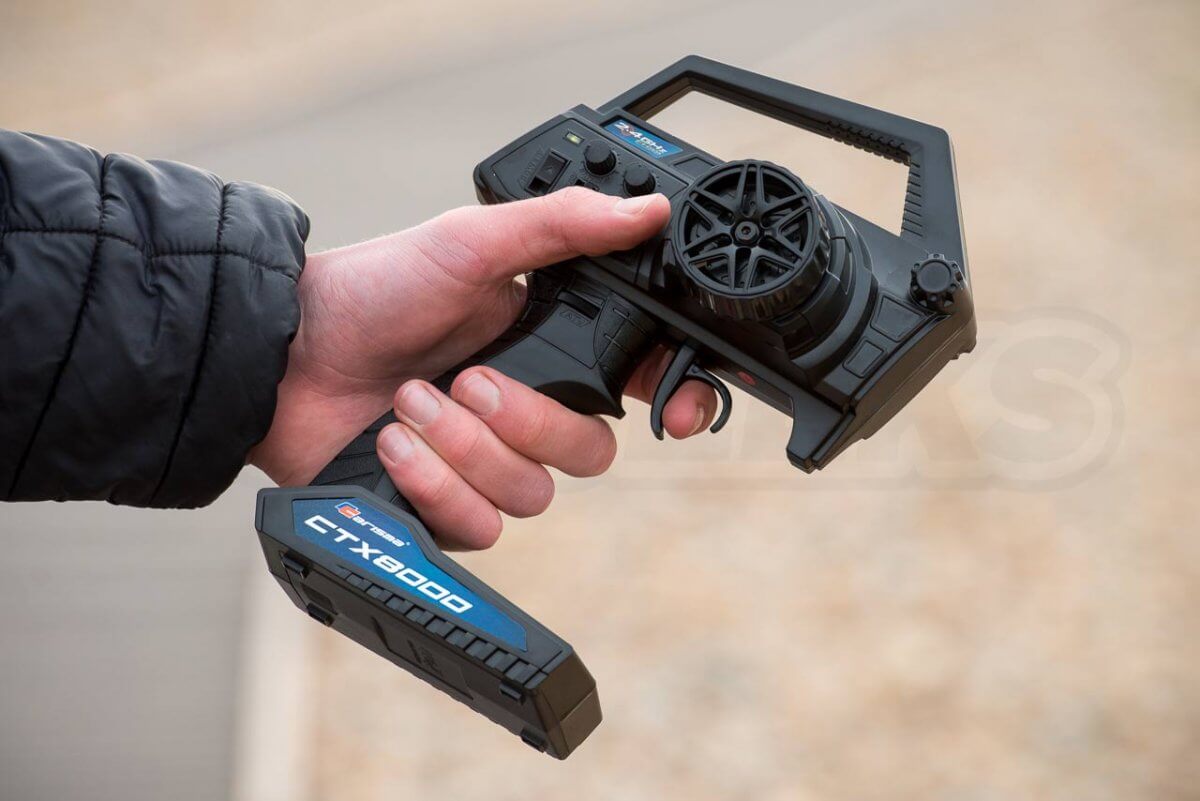
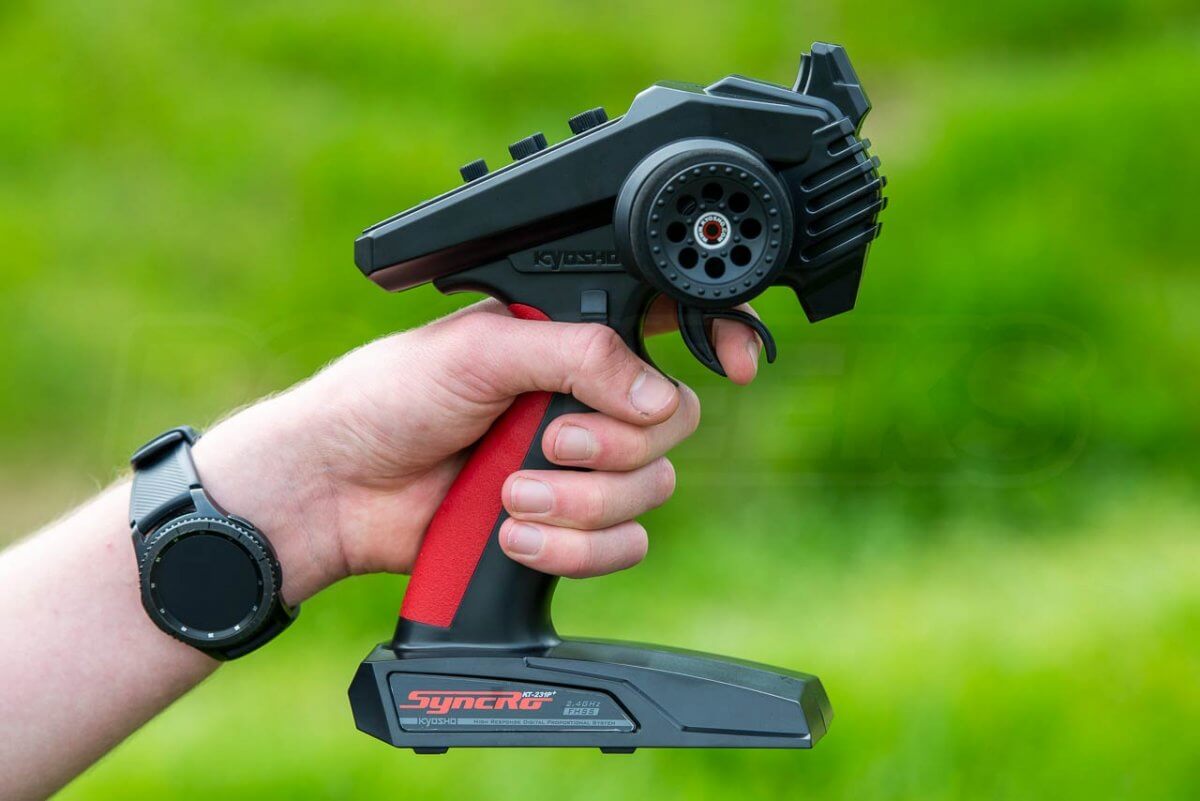
As the name suggests, these have a 'hand-gun' style layout. The trigger operates the throttle whilst the wheel mounted on the side is in charge of the steering. Typically the batteries are held in the butt of the handle for weight balance. Whilst not always suited to left-handed operators, when it comes to controlling RC cars, the trend has moved towards this style of transmitter thanks to the compact, ergonomic profile and self-centering rotating steering input.

Drone pilots and RC enthusiasts of a certain age will be more familiar with stick controllers. Highly configurable (and adjustable) these controllers feature two input 'thumb/joy' sticks that provide a two-dimensional input. These devices tend to be more expensive and aren't as intuitive to use for novices.

Traditionally channel one would be connected to your steering servo and channel two linked to your speed controller to control the throttle. On sets with a third or fourth channel, this tend to be reserved for remotely operating lights or a winch.
To remotely operate your model a robust wireless data link needs to exist between your hand controls and the model. The days of using narrow-band 27/35/40 Mhz crystals (with their propensity to interference) are thankfully behind us.

Modern digital radio systems employ direct sequence or automatic frequency hopping technologies to distribute their transmissions over a wider selection of frequencies (or in the case of frequency hopping, completely different channels) in the 2.4Ghz spectrum. These systems are incredibly robust, resistant to interference and provide impressive range despite their compact external antennas.
The majority of transmitters that arrive bundled with models come pre-bound (already connected) to their respective receivers, but should you ever need to replace components in the package, you will need to follow these steps to rebind them. For this you will need a charged battery in the model, the receiver accessible (remove the lid etc) and charged batteries in the transmitter.
The Syncro system is used on the Outlaw Rampage, Fazer Rage, the Fazer T1 drift car and many more. Using the included binding stick, hold down the bind button whilst powering up the model, the transmitter LED will flash quickly, turn the transmitter on before releasing the bind button. The receiver LED will re-light to confirm. Full details can be found in the PDF manual.

Traxxas' radio is a fantastic highly-ergonomic high-performance system found on the TRX-4 Land Rover and Merc G500, through their Unlimited Desert Racer up to the top end X-Maxx. To rebind this radio press and hold the red set button on the top of the transmitter as you turn it on, the led should flash red slowly and you can then release the set button. On the receiver end press and hold the link button as you turn on the speed controller (power up the model) then release it when powered up. Both the transmitter and receiver lights should turn green for successful confirmation. See the model manual PDF for further details.

This is the transmitter and receiver system currently found on the RTR Axial SCX10ii. To bind it you power up the transmitter, power up the receiver (turn on the car), push and hold the 'link' button (found on the receiver box) until it turns red before shortly turning off. The receiver LED will then flash once and then return to a solid on. Full instructions are available in the Tactic manual available as a PDF here.

Transmitters feature adjustment controls that alter the signals the receiver controls the model with. These refinements allow the driver to remotely alter things like the steering dead point and how sensitive the steering or throttle controls are.

High-end radios from Spektrum or Flysky may include a backlit LCD to assist with adjusting the settings, but the vast majority rely on potentiometer dials for alterations as seen on the controllers above.
Trim adjustment allows you to finely tune the inputs from your transmitter. Its the dial you reach for when your RC car isn't tracking straight. In the example below we have the trim adjusted anti-clockwise to rotate the steering wheels left, compensating for a servo/servo-horn fitted a spline or so out. Note that the steering is moving without any input.
Trims are also relevant for throttle, adjusting the neutral position to ensure the car doesn't accelerate or reverse by itself. They are especially useful for refining inputs on transmitters that offer a physical ratio adjustment (50:50 to 30:70) in the throttle.
In terms of analogue adjustment on RC Cars, rate adjustment will scale and cap the input. It adjusts the 'throw' of the input, meaning the entire travel of the steering/throttle inputs are in use but they are scaled down. With the dual rate turned right down on the throttle, 'hammering the gas' will result in the transmitter telling the ESC to go say 30% throttle. Similarly for steering, winding the wheel all the way over will only give a fraction of the steering angle it normally would.
Such adjustment is useful when driving a car at higher speeds (without any gyro assist or traction control) where extreme steering-angle changes would result in loss of control. Whenever we are attempting a top speed run in our carpark we will always dial the steering dual rate down to avoid this.
As mentioned the concept also applies to dual rate adjustment of throttle. Throttle dual rate adjustment can be used to cap power when driving on particularly loose surfaces, or when you let a beginner drive a powerful RC car.
This is pretty self explanatory, flicking this will reverse the signal sent from the transmitter to the receiver. If you find your car is turning left when you rotate the dial right, reversing CH1 will fix the issue right away.
End points can be adjusted individually for left and right, as well as forward and back. If you feel your car doesn't turn as far left as it does right this can be employed to fix that. More commonly this is adjusted to ensure your rc car is going 'full throttle' with the transmitter trigger held 'at full throw'. If you feel your car isn't going as quickly as it should, after checking the battery/ESC/wiring it is worth checking your end points are set correctly.
If your transmitter does not have manual end point adjustment it is often possible to configure it on the transmitter by entering a programming mode. These typically have you holding your throttle/steering at that desired point before pressing a button on the receiver and setting the next end point, etc. See your model manual for more information.
Found on higher-end controllers, an exponential adjustment will allow you to modify the behaviour of your transmitter inputs. Perhaps you would like to soften the initial steering input without sacrificing the full steering lock, making the car more stable when inputting slight steering adjustments at high speed. You could use an exponential adjustment to slow the initial values up to say half a turn of the steering wheel, before scaling the last half of the steering rotation to provide the remaining 80% of the steering angle.
The majority of transmitters have a power switch to turn them on and an LED to show their power status. Often this light can tell you if the battery of the transmitter is low or if the connection status is changing, refer to your manual for further clarification. It is important to ensure you power down your transmitter as few have warning buzzers or power-down timeouts.

Most transmitters accept four AA batteries (some more advanced models needing the 12v of eight batteries) however many of the premium transmitters now feature removable battery trays. Once you have identified the (often JST) style of connector, these can be replaced with larger-capacity rechargeable NiMH battery packs.
The majority of us use the bundled transmitter that comes with our models, but there are advantages (beyond custom batteries and improved comfort) in purchasing a higher-end transmitter from the likes of Spektrum.
Professional transmitters often feature profiles, allowing you to bind the controller to multiple models, each with their own setup and refinements. This also means less to carry when heading out with more than one car, not to mention less batteries to find.

Higher end models feature a USB port for updating their firmware, but some like Flysky's GT3B will also allow you to use the controller as a PC controller. This allows you to master driving with your transmitter in a virtual simulator game environment, without the risk of trashing your expensive RC car!
More relevant to the receiver than the transmitter, many models feature a 'fail safe' fall-back mode. Should the connection between the transmitter and receiver be interrupted (such as driving out of range, the transmitter batteries failing, breaking the transmitter due to a fall and so on) the receiver will return the signals to the ESC and servo to neutral, effectively stopping the model from driving any further.

You can safely test (or discover the existence of) your model's fail-safe by placing it 'wheels up', accelerating so the car wheels spin before turning off the transmitter with the throttle still applied.
If you are looking to purchase an advanced transmitter for your RC car, check our range of spektrum controllers, in particular the DX5 units.
We are currently producing a series of short guide articles aimed at novices to the RC scene, browse our site to learn more. Alternatively, if you have a topic you'd like us to tackle or explain, or have spotted any errors or emissions leave a suggestion in our comments section below.
Written by
Tom Begglesworth